Wenn Sie ein privates Unternehmen sind, müssen Sie Ihre Firmenregisternummer eingeben
Durchführung des Stripe-Onboarding
7 Schritte
Die Durchführung des Stripe-Onboarding ist ein notwendiger Schritt, um mit dem Versand von BNPL-Einladungen zu beginnen, da unsere Übertragung über die Plattform erfolgt. Wählen Sie Ihre Unternehmensart mit Bedacht, denn einmal gewählt, kann die Unternehmensart nicht mehr geändert werden.
Schritt 1: Registrierungsnummer des Unternehmens eingeben


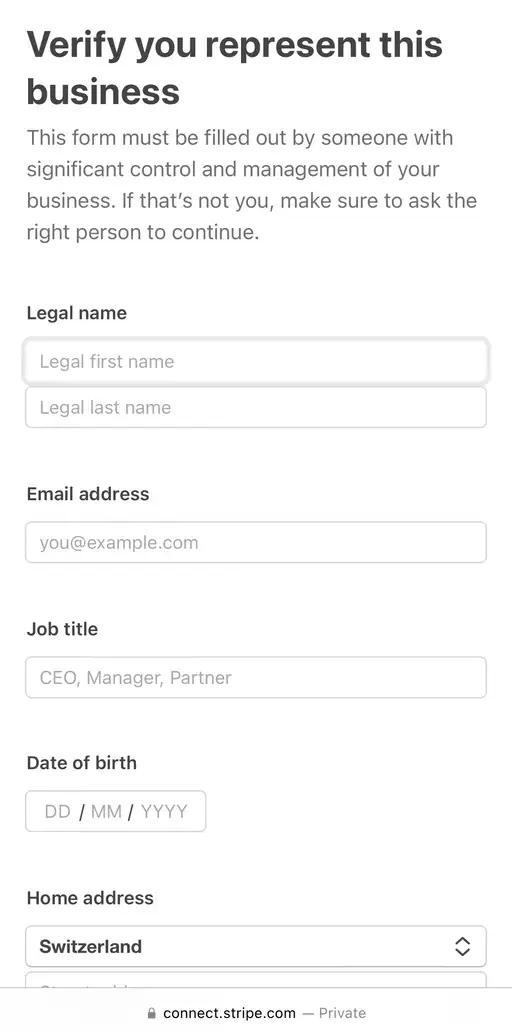
Schritt 2: Personenbezogene Daten hinzufügen
Sie müssen nun Ihren offiziellen Namen, Ihr Geburtsdatum und Ihre Wohnadresse eingeben


Schritt 3: Geschäftsführer hinzufügen
Sie müssen nun die Geschäftsführer angeben. Wenn es keine Geschäftsführer gibt, drücken Sie bitte auf «Weiter ohne Geschäftsführer»


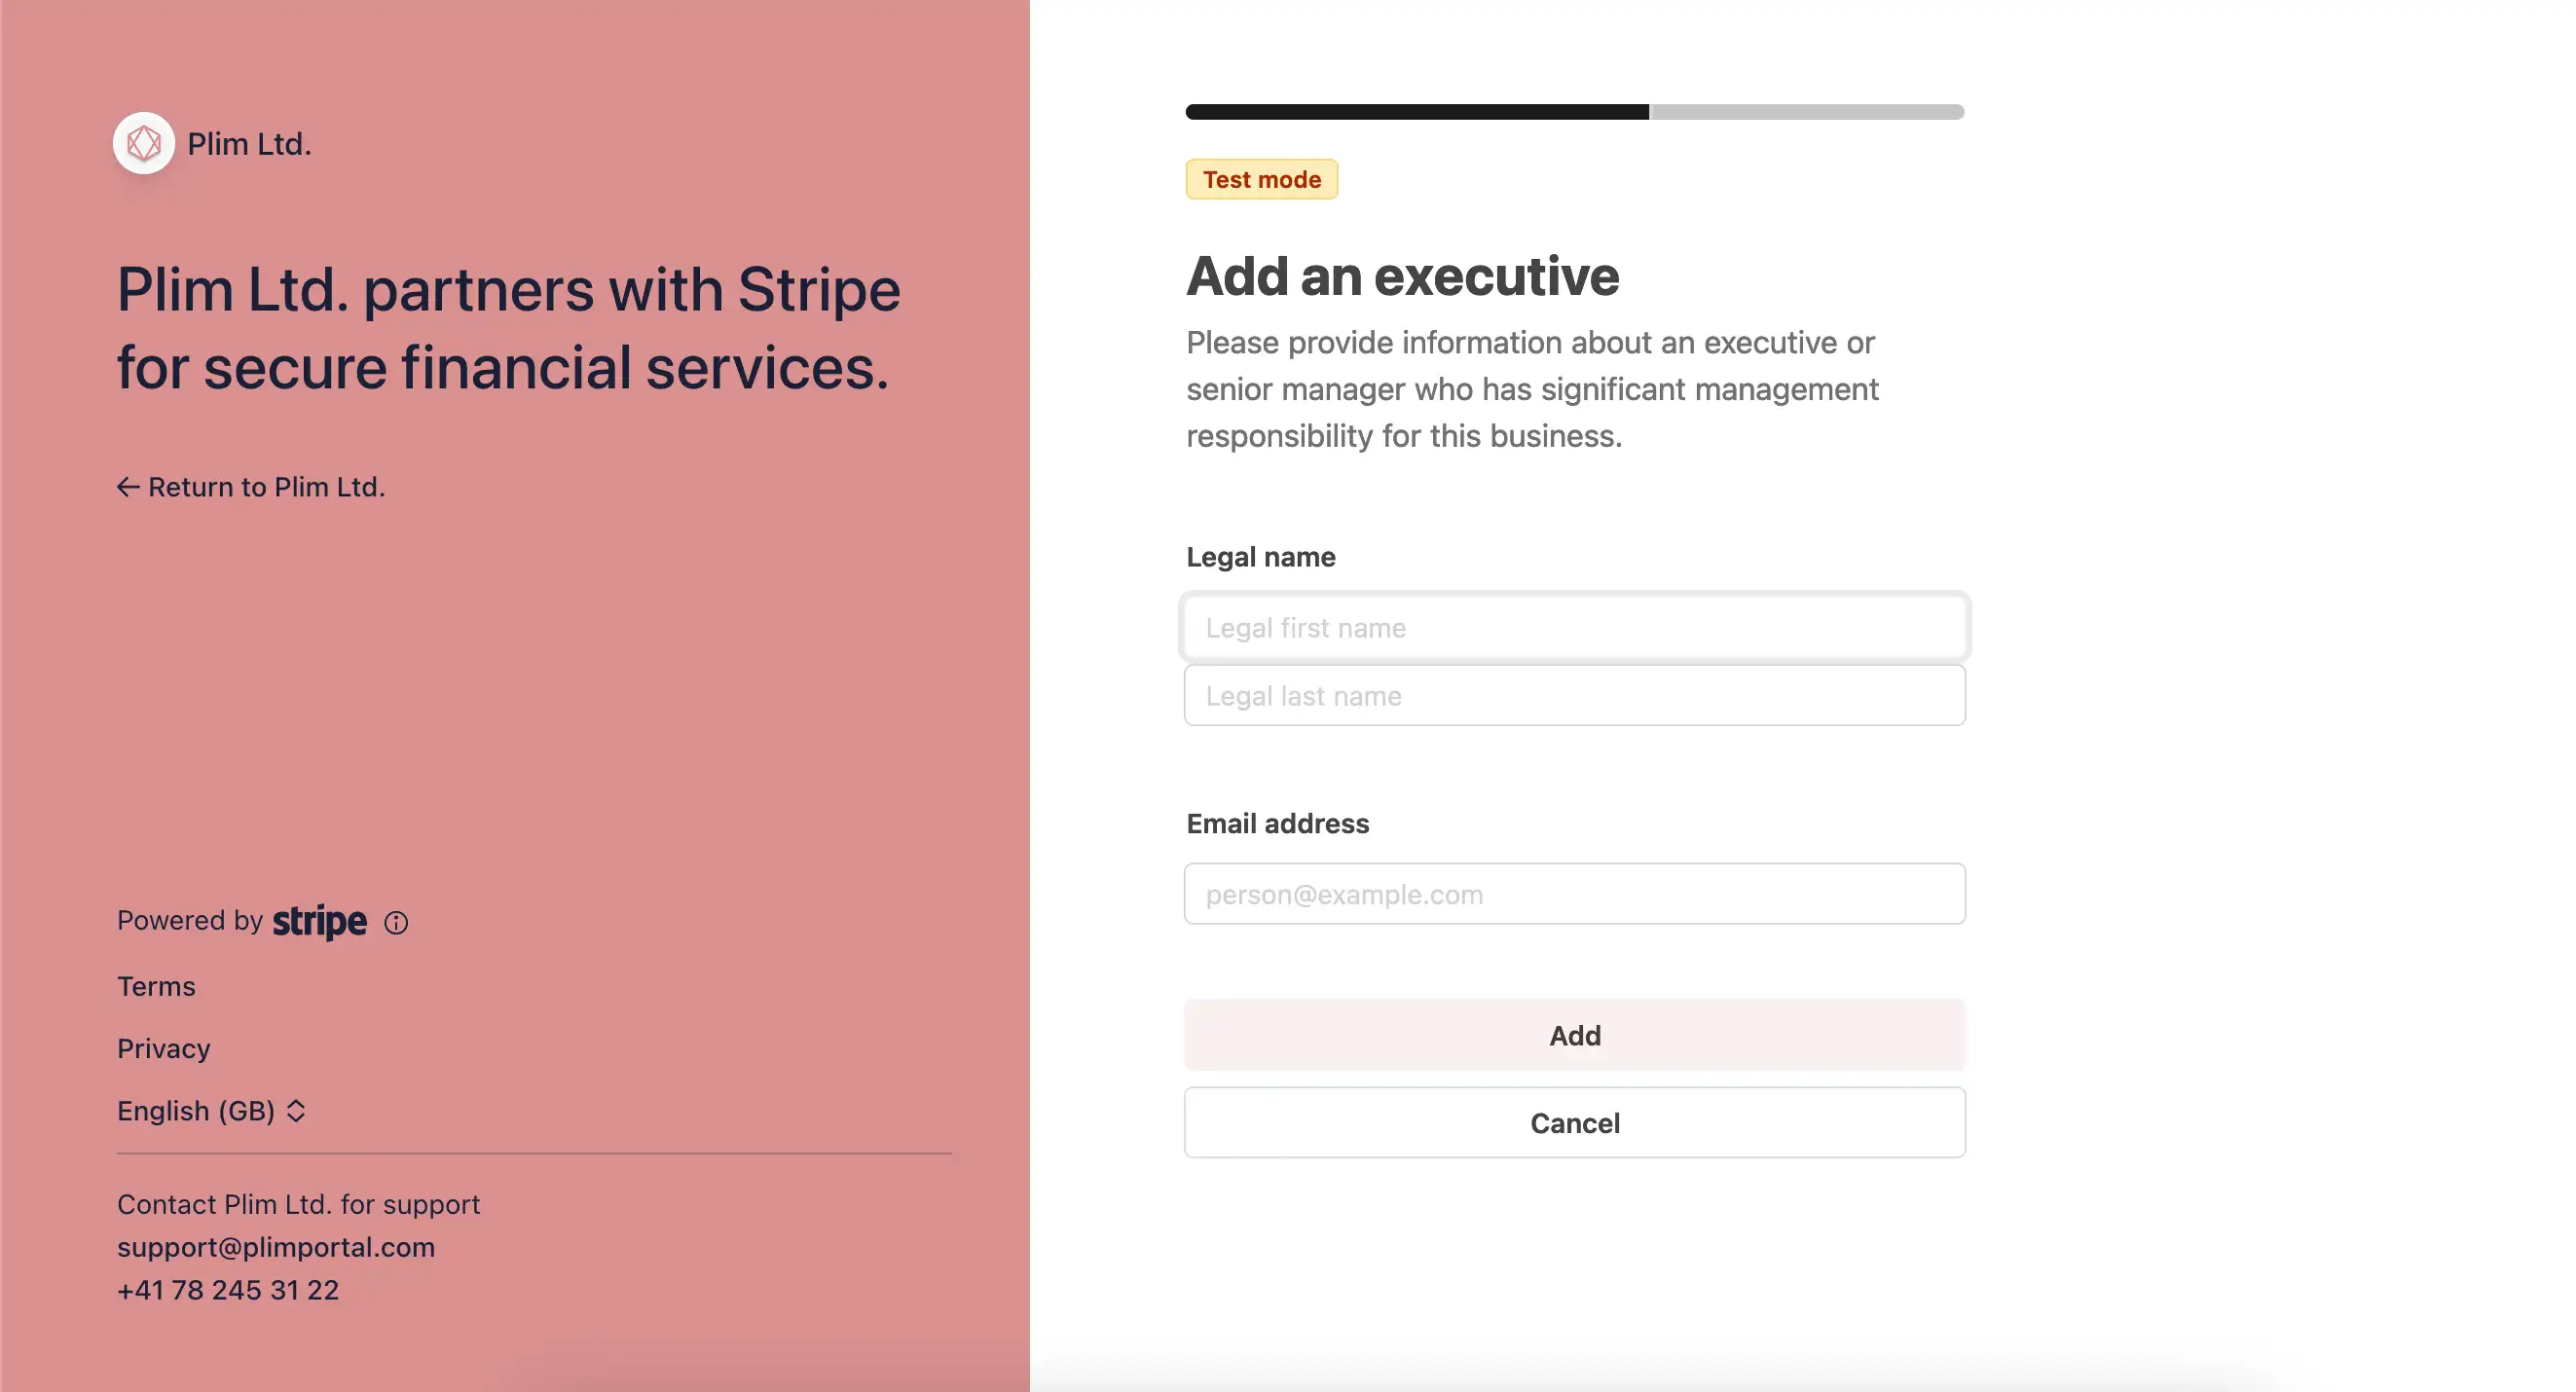
Schritt 4: Führungskräfte hinzufügen
Sie haben auch die Möglichkeit, die Führungskräfte Ihres Unternehmens einzubeziehen, wenn Sie dies wünschen, oder Sie klicken auf «Fertig» und fahren fort

Step 5: Ausweisdokumente hochladen
Sie müssen Ihre Identität verifizieren, indem Sie einen Identitätsnachweis wie Führerschein, Reisepass usw. Hochladen


Schritt 6: Übermittlung von Informationen und Abschluss des Onboarding
Nachdem Sie Ihre ID hochgeladen haben, können Sie nun die Stripe-Informationen bestätigen und übermitteln.


Was it helpful?
On this page
IntroductionSchritt 1: Registrierungsnummer des Unternehmens eingebenSchritt 2: Personenbezogene Daten hinzufügenSchritt 3: Geschäftsführer hinzufügenSchritt 4: Führungskräfte hinzufügenStep 5: Ausweisdokumente hochladenSchritt 6: Übermittlung von Informationen und Abschluss des Onboarding
Watch tutorial instead

